타이틀

Tech

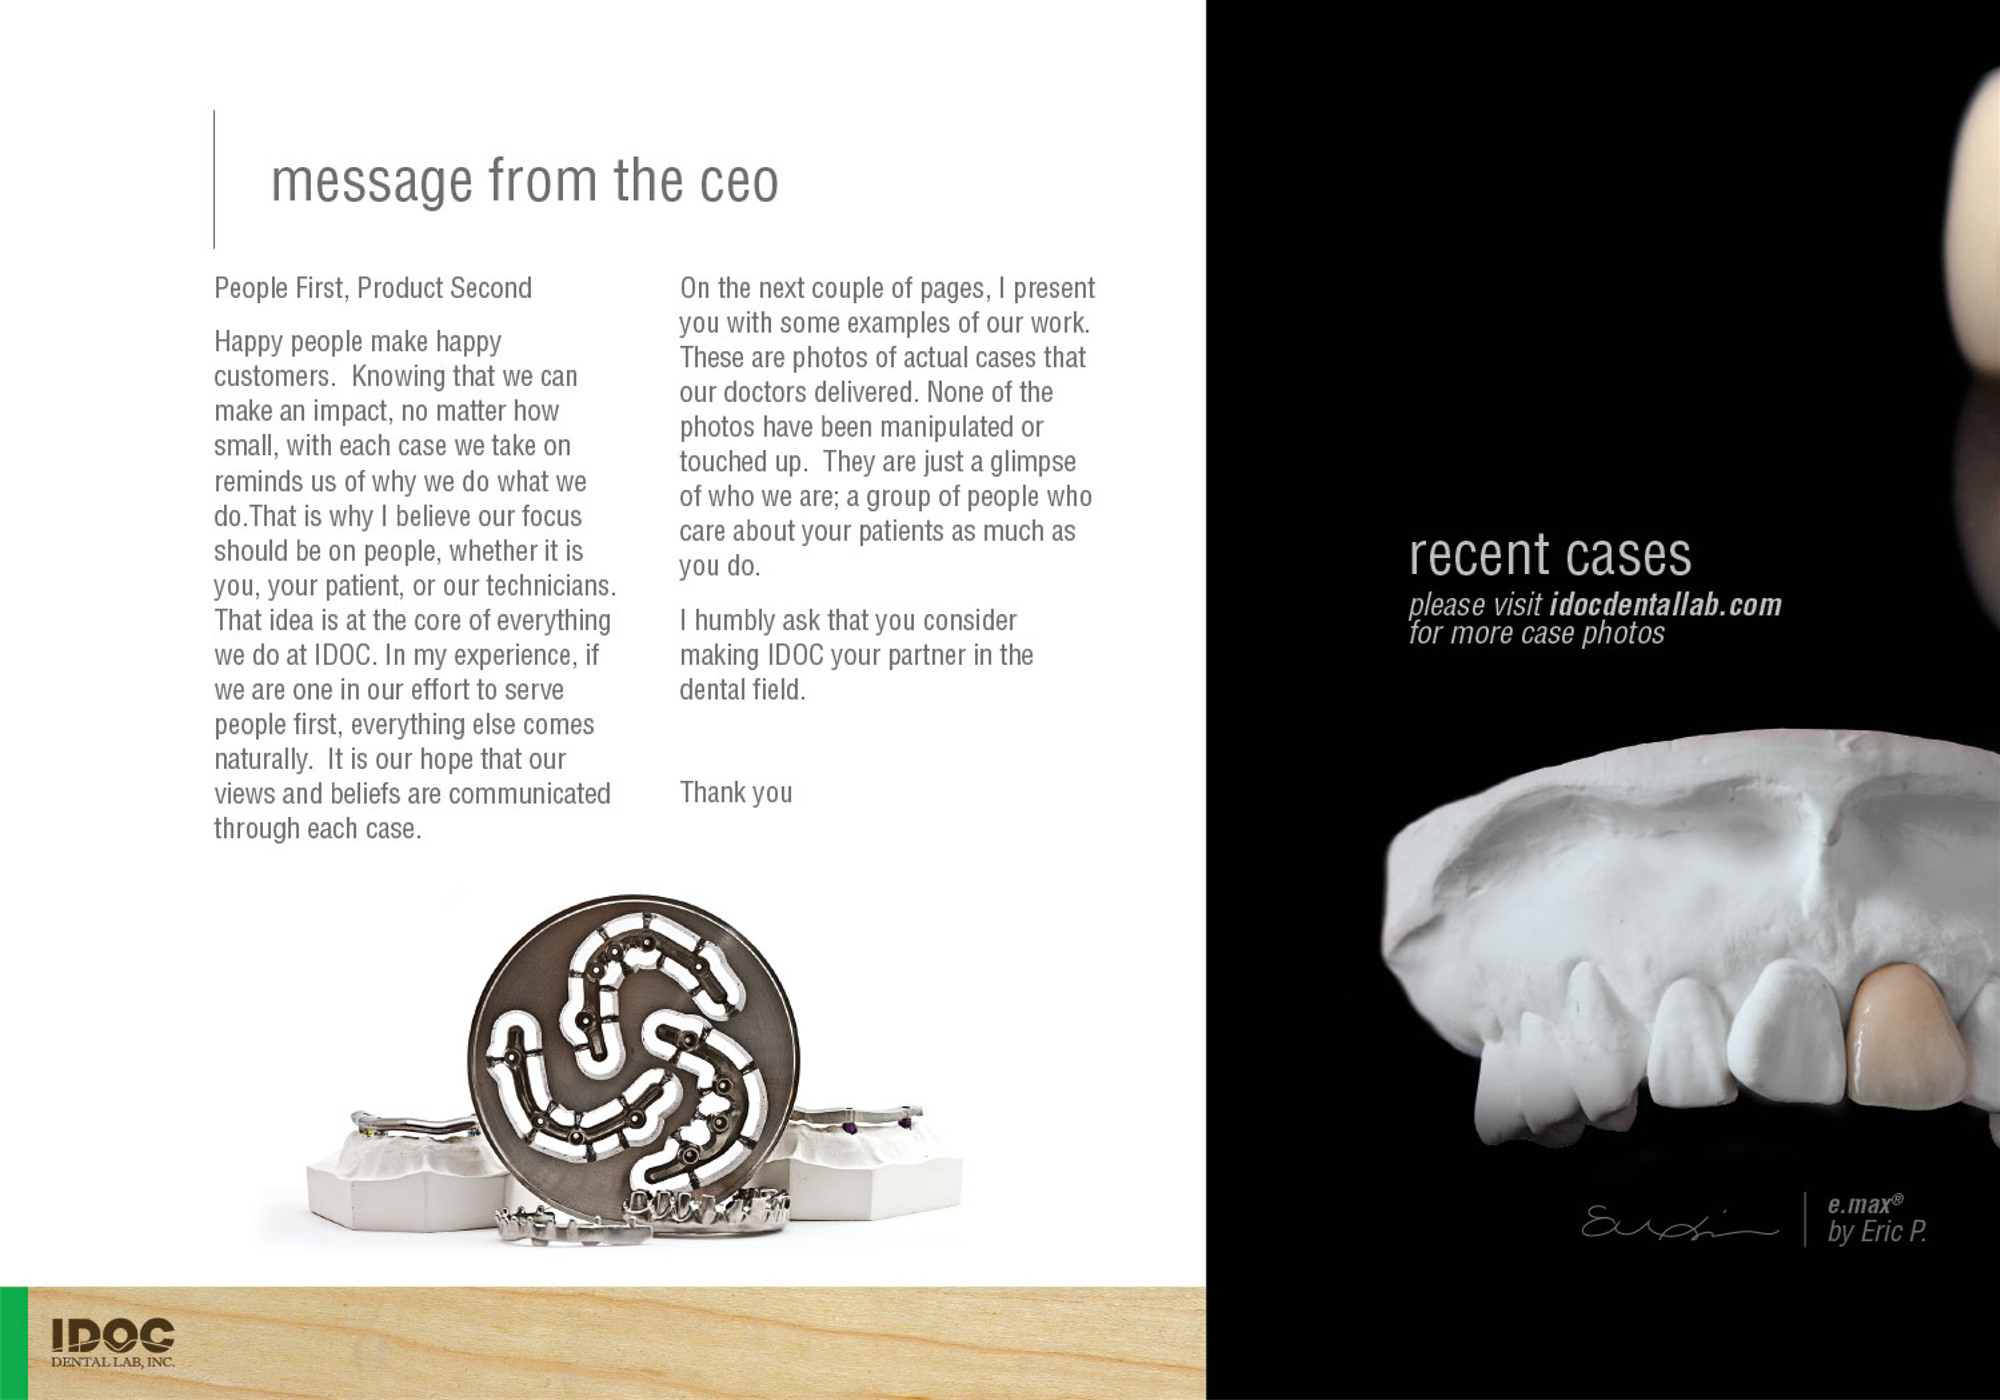
Happy people make happy customers.

*Click on title for more details!

  • Custom shade patient guideline

    IDOC custom shade form

    What to expect when visiting IDOC for a custom shade

    • ① Make an appointment by calling 877-388-4362. The hours available for appointment are: M-F at 9:00, 10:00, 11:00, 1:30 or 2:30. (Appointments will only take approximately 15-20 minutes)
    • ② Once you are called into the custom shade room, the technician will evaluate the tooth being shaded with the prepared modelwork of your case.
    • ③ Several photos will be taken.
    • Note: Questions regarding case details to the technician will be limited. Your doctor is responsible to answer any of the questions you may have regarding your case.
    • Address: IDOC DENTAL LAB, 1097 North Batavia St, Orange, CA 92867

    TAKING SHADE PHOTO - CHEAT SHEET

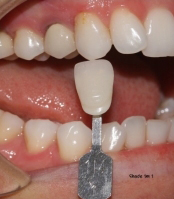
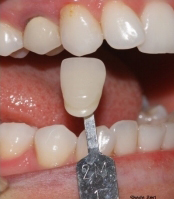
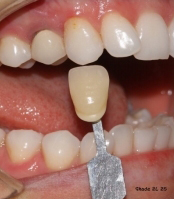
    For all esthetic zone or difficult shade restorations, send the lab a shade tab photo. The photo must have a shade tab referenceas seen below.

    • Incisal 1/31M1

    • Cervical 1/32M1

    • Gingival 1/32L2.5

    Tips for taking photos

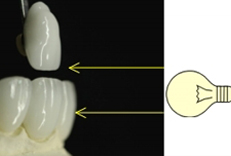
    • Use correct lighting
    • Lip retraction tools are best to avoid shadows
    • Use a shade tab reference
    • Indicate the final shade
    • Make the selections quickly
    • Avoid bright colors in the shade-taking environment
    • Provide the Prep/ Stump Shade for All e.max cases
    • Make sure the distance and angle of the shade tab and the tooth is in the same plane.
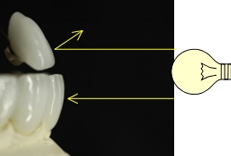
    • Don’t hold the tab at an angle.

      If the angle of the shade tab and the teeth do not match than the light will bounce off each one differently, distorting the color of the photo.
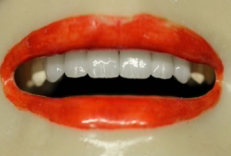
    • Have the patient smile naturally to show us the lip line and horizontal level.
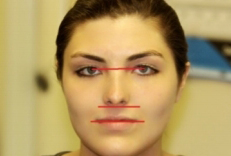
    • If possible, we would like to see the patient’s face from eyes to chin. This will help us evaluate the horizontal level of the teeth for esthetics matching each patient’s features.
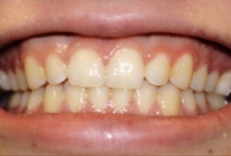
    • Please provide a photo of the patient’s closed bite for reference.

  • Fixed Technical Guide

    ZirStar

    • DESCRIPTION FULL CONTOUR ZIRCONIA
    • BENEFITSFULL CONTOUR ZIRCONIA CROWN, HIGHLY ESTHETIC, GREAT FOR HYBRID STRENGTH (800MPa~1200MPa)
    • INDICATIONANTERIOR & POSTERIOR CROWNS BRIDGES, INLAY & ONLAYS, RECOMMENDED FOR PATIENTS WITH MALFUNCTIONAL OCCLUSION SUCH AS BRUXERS OR CLENCHERS
    • PREP GUIDEANY PREP WITH AT LEAST 0.5MM OF OCCLUSAL SPACE IS ACCEPTATBLE. 1.0MM IS IDEAL
    • CEMENTATION3M™ ESPE™ RELYX™ UNICEM SELF- ADHESIVE UNIVERSAL RESIN CEMENT
    • ADA CODED2740 CROWN, D6245 PONTIC PORCELAIN/CERAMIC, D6740 ABUTMENT FOR BRIDGE

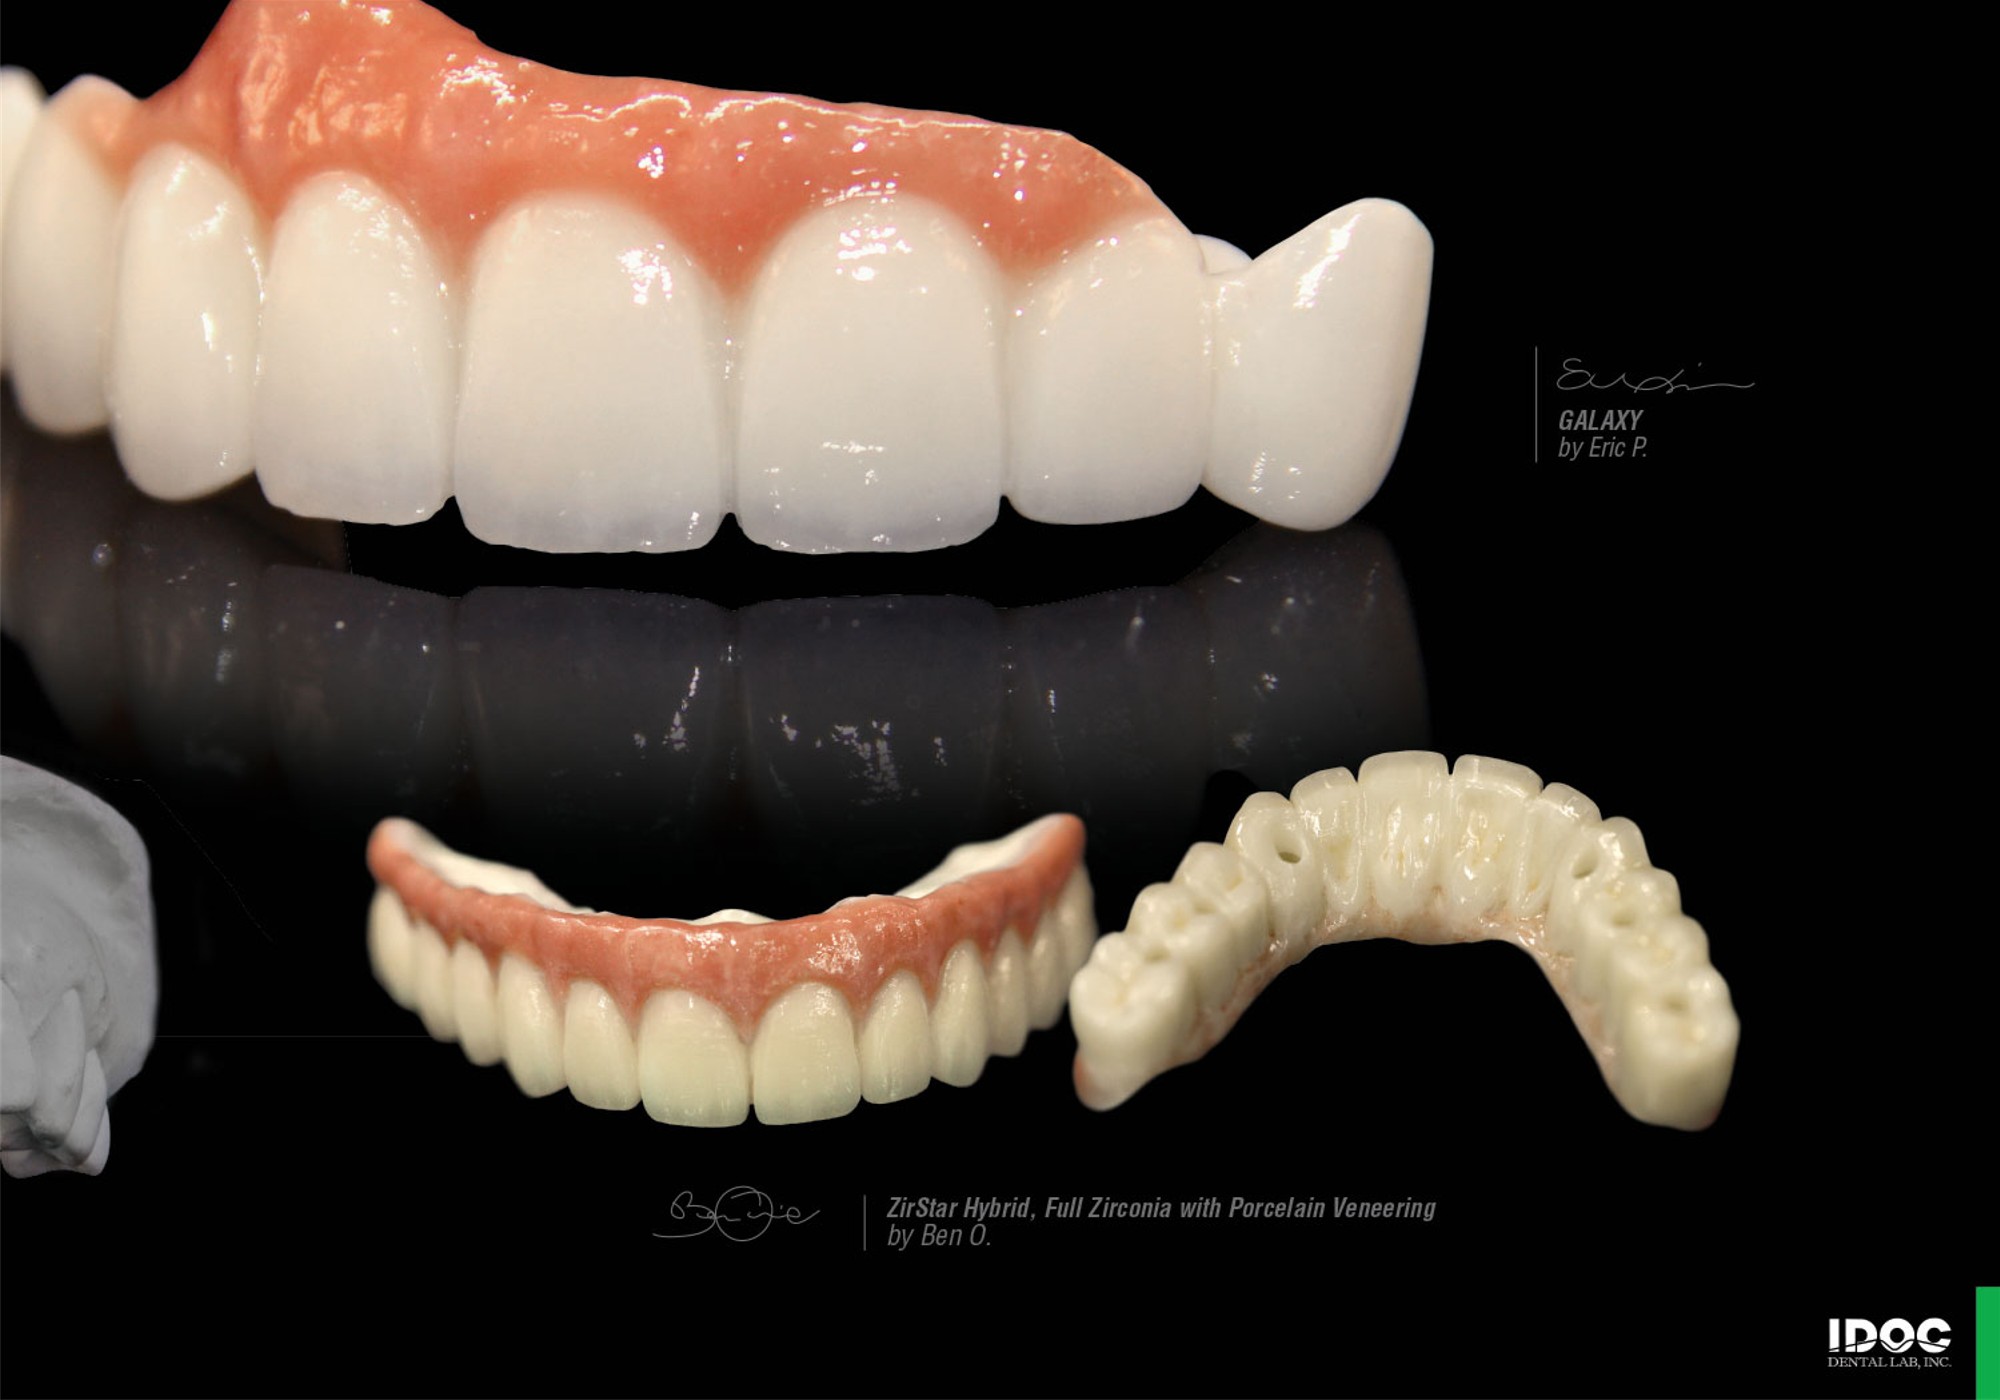
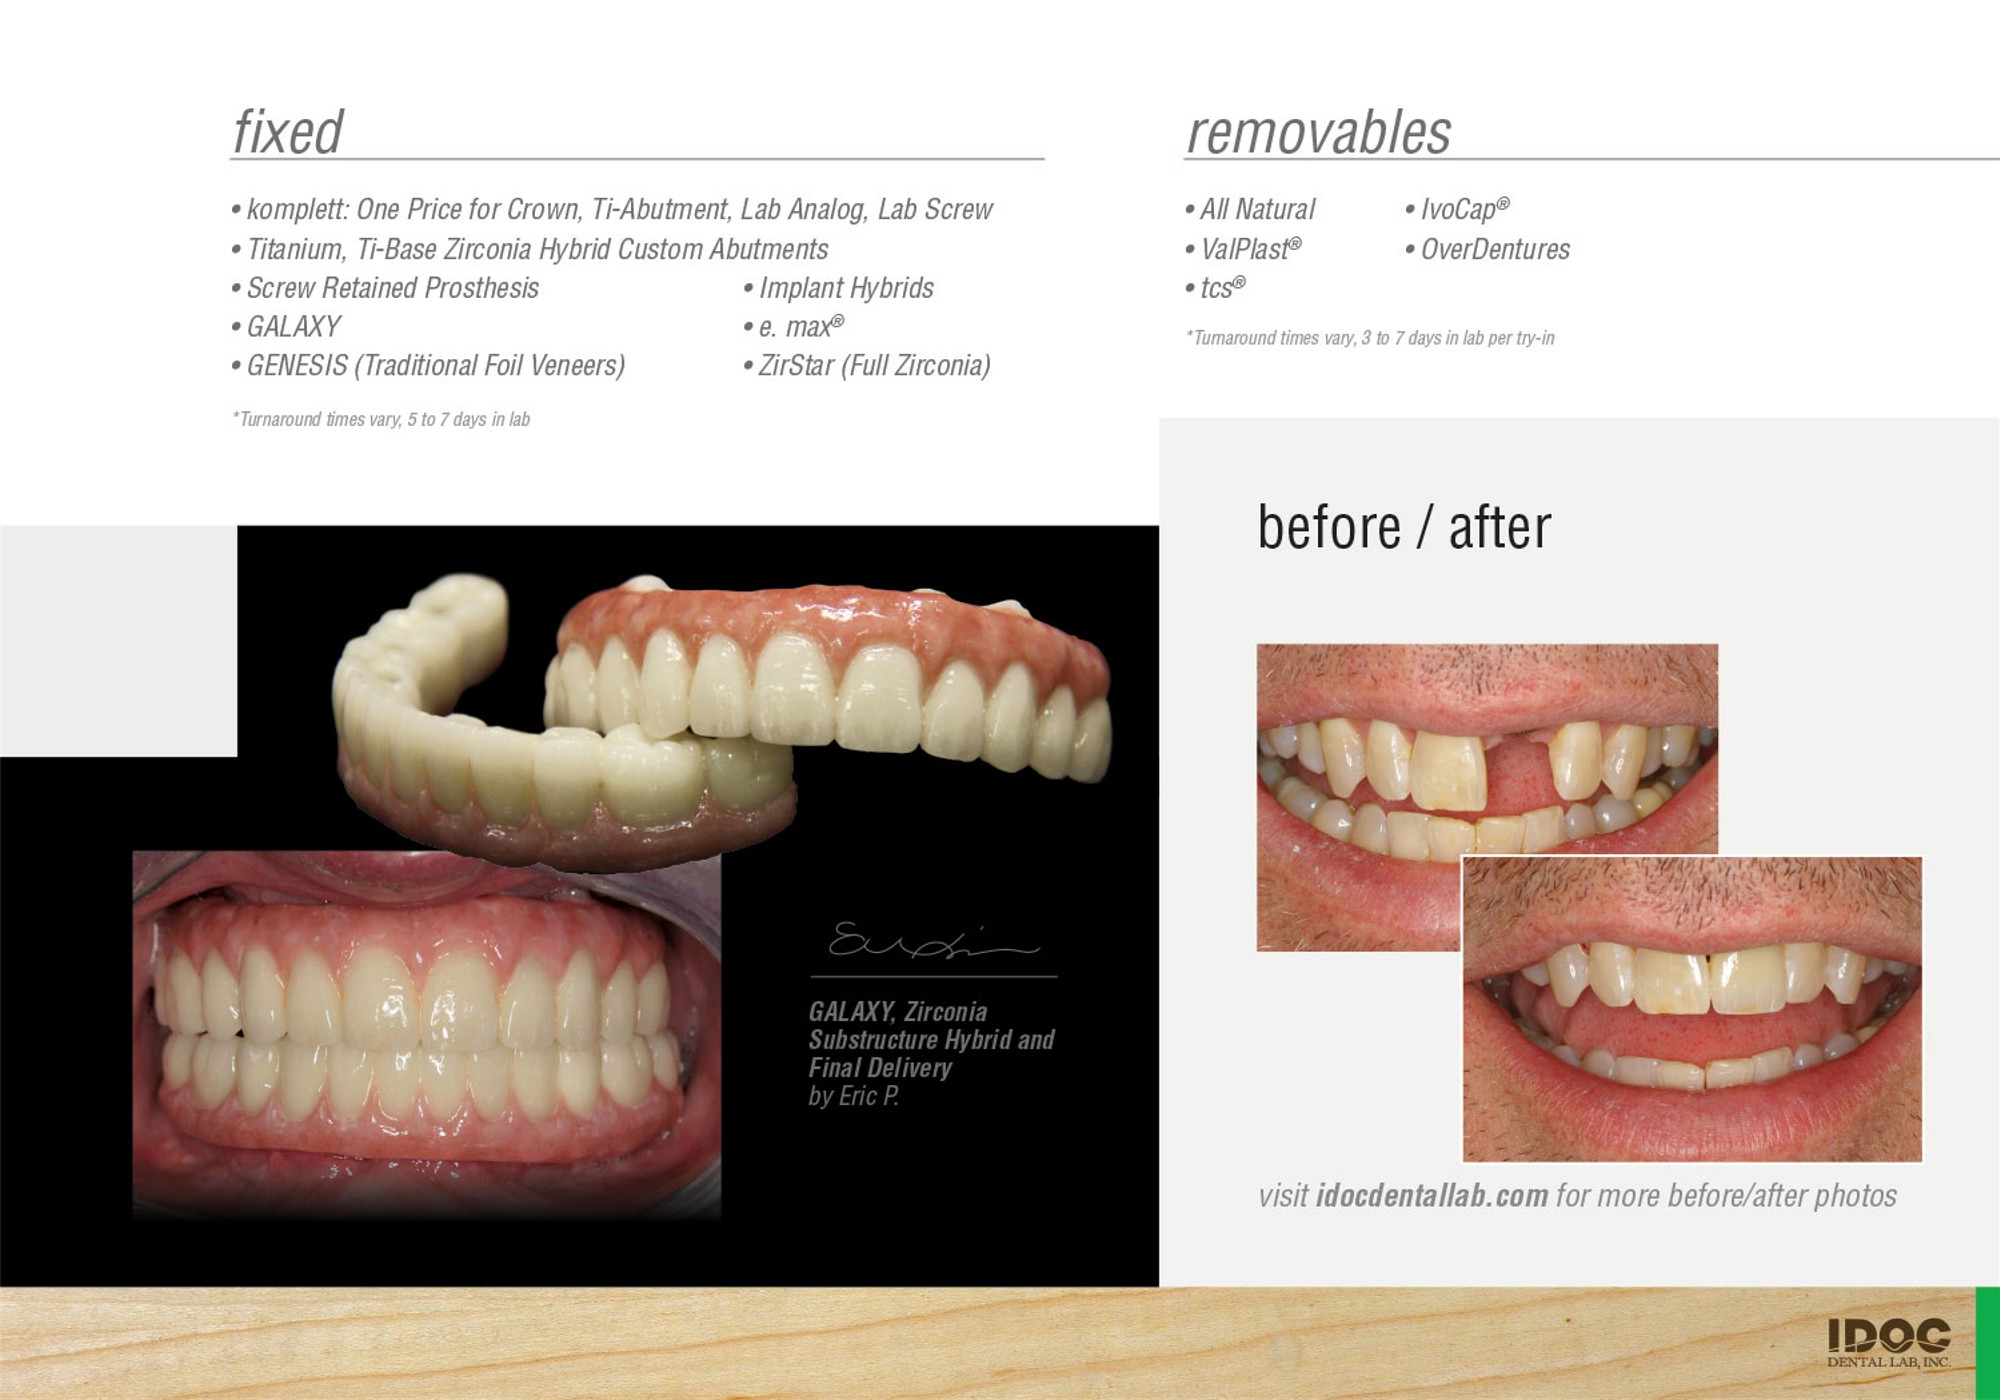
    GALAXY

    • DESCRIPTION Porcelain Fused to Zirconia
    • BENEFITSCOST EFFECTIVE ZIRCONIA SUBSTRUCTURE AT 1400 MPa. 5 YEAR MANUFACTURER'S WARRANTY ON COPING. HIGHLY ESTHETIC, GREAT FOR STRENGTH AND OPAQUE CASES
    • INDICATIONANTERIOR & POSTERIOR CROWNS & BRIDGES
    • PREP GUIDECHAMFER OR SHOULDER PREPS ONLY. SEE PREPARATION GUIDE FOR SPECIFICS. NO ANGLES OR SHARP EDGES. NOT RECOMMENDED FOR FEATHER EDGE MARGINS
    • CEMENTATION3M™ ESPE™ RELYX™ UNICEM SELF- ADHESIVE UNIVERSAL RESIN CEMENT
    • ADA CODED2740 CROWN, D6245 PONTIC PORCELAIN/CERAMIC, D6740 ABUTMENT FOR BRIDGE

    Lava

    • DESCRIPTION Porcelain Fused to Zirconia
    • BENEFITSSUPERIOR ZIRCONIA SUBSTRUCTURE AT 1200MPa. 15 YEAR MANUFACTURER'S WARRANTY ON COPING. HIGHLY ESTHETICS, GREAT FOR STRENGTH AND OPAQUE CASES
    • INDICATIONANTERIOR & POSTERIOR CROWNS & BRIDGES
    • PREP GUIDECHAMFER OR SHOULDER PREPS ONLY. SEE PREPARATION GUIDE FOR SPECIFICS. NO ANGLES OR SHARP EDGES. NOT RECOMMENDED FOR FEATHER EDGE MARGINS
    • CEMENTATION3M™ ESPE™ RELYX™ UNICEM SELF- ADHESIVE UNIVERSAL RESIN CEMENT
    • ADA CODED2740 CROWN, D6245 PONTIC PORCELAIN/CERAMIC, D6740 ABUTMENT FOR BRIDGE

    e.max

    • DESCRIPTION LITHIUM, DISILICATE, ALL CERAMIC
    • BENEFITSHIGHLY ESTHETIC AND TRANSLUCENT. PRESSED PORCELAIN TECHNIQUE OVER LITHIUM DISILICATE.
    • INDICATIONVENEERS, ANTERIOR & POSTERIOR CROWNS, INLAY & ONLAYS. NOT RECOMMENDED FOR PATIENTS WITH MALFUNCTIONAL OCCLUSION SUCH AS BRUXERS OR CLENCHERS
    • PREP GUIDECHAMFER OR SHOULDER PREPS ONLY. SEE PREPARATION GUIDE FOR SPECIFICS. NO UNDERCUTS OR FEATHER MARGINS. MUST PROVIDE STUMP SHADE
    • CEMENTATIONVARIOLINK II / VARIOLINK FOR VENEERS, MULTILINK AUTOMIX FOR C&B
    • ADA CODED2740 CROWN, D2610 INLAY FOR 1 SURFACE, D2620 INLAY FOR 2 SURFACES, D2630 INLAY FOR 3 SURFACES, D2962 LABIAL VENEER, D2783 CROWN 3/4 PORCELAIN CERAMIC (DOES NOT INCLUDE VENEERS), D6245 PONTIC PORCELAIN/CERAMIC

    PFS/PFG/PFM

    • DESCRIPTION PORCELAIN FUSED S / PORCELAIN FUSED GOLD / PORECELAIN FUSED / METAL
    • BENEFITSSTRENGTH AND BIOCOMPATIBLE. OPTION OF GOLD PLATING AVAILABLE
    • INDICATIONANTERIOR & POSTERIOR CROWNS & BRIDGES
    • PREP GUIDEANY PREP WITH AT LEAST 1-1.5MM REDUCTION FOR ANTERIOR AND 1.5MM-2MM REDUCTION FOR POSTERIOR
    • CEMENTATIONUNIVERSAL RESIN CEMENT
    • ADA CODED2750 CROWN,-PORCELAIN FUSED TO HIGH NOBLE, D6750 ABUTMENT, D6240 PONTIC FOR BRIDGE

    FGC/FMC

    • DESCRIPTION FULL GOLD CROWN / FULL METAL CROWN
    • BENEFITSSTRENGTH AND BIOCOMPATIBLITY. OPTION OF GOLD PLATING AVAILABLE
    • INDICATIONANTERIOR & POSTERIOR CROWNS & BRIDGES
    • PREP GUIDEANY PREP WITH AT LEAST 0.5MM OF OCCLUSAL SPACE IS ACCEPTATBLE. 1.0MM IS IDEAL
    • CEMENTATIONUNIVERSAL RESIN CEMENT
    • ADA CODED2790 Crown Full-Cast Hi-Noble Metal, D2791 Crown Full-Cast Predominantly Base Metal, D2792 Crown Full-Cast Noble Metal
  • Denture Problems And Solutions

    What to do when: denture version

    We want you to have a perfect case each time, but sometimes denture cases can be tricky, here are some helpful tips

    NOT FITTING WELL

    • Full denture

      Stage: DeliveryGrind under the denture and take a reline impression with bite

    • Immediate

      Stage: DeliveryNew impression to start over

    • Valplast/tcs/combo

      Stage: DeliveryTake 2 new impressions (One for adjustment and one for a possible remake). We will try to adjust Valplast to make it fit on 1st cast model (cast model will be damaged during adjustment). If it is not possi- ble, we will use the 2nd cast model to make new wax-rim.

    • Partial

      Stage: DeliveryTake 2 new impressions (One for adjustments and one for a possible remake)/We will try to adjust partial to make it fit on 1st cast model (cast model will be damaged during adjustment). If it is not possible, we will use 2nd cast model to make new metal framework.

    • Stayplate

      Stage: DeliveryNew Impression to start over

    LOOSE/POOR, RETENTION/NO UNDERCUT

    • Full denture

      Stage: Wax RimNeed wash imp. with bite

      Stage: Teeth try in*Finish as is and reline will be arranged in the future.

      Stage: DeliveryTake Reline Impression

    • Immediate

      Stage: DeliveryReline at chairside

    • Valplast/tcs/combo

      Stage: Framework IDOC doesn’t design the clasp at try in stage. We will add Valplast clasp when we process to finish

      Stage: DeliveryNeed to take a new impression with dimple and switch to tradi- tional partial

    • Partial

      Stage: Framework Create undercut (dimple) and take new impression

      Stage: DeliveryAdjust metal clasps at chair- side, if not working, start over with new imp

    • Stayplate

      Stage: DeliveryAdjust wire clasps

    OPEN -or- INCORRECT, BITE

    • Full denture

      Stage: Teeth try inRemove teeth from wax, and take new bite

      Stage: DeliveryFirst, grind occlusion where it is touching. Then under the denture, take reline and bite registration at the same time (USE impression adhesive)

    • Immediate

      Stage: Teeth try in Remove teeth from wax, and take new bite

      Stage: DeliveryFirst, grind occlusion where it is touching. Then under the denture, take reline and bite registration at the same time (USE impression adhesive) OR new impression to start over

    • Valplast/tcs/combo

      Stage: Teeth try inRemove teeth from wax, and take new bite

      Stage: DeliveryGrind occlusion where it is touching first and take a pick up impression, then take another new impression. Also we need a new bite and opposing.

    • Partial

      Stage: Teeth try inRemove teeth from wax, and take new bite

      Stage: DeliveryGrind occlusion where it is touching first and take pick up impression and take new imp w/o the partial. Please provide the lab with a new bite and opposing

    • Stayplate

      Stage: DeliveryGrind occlusion where it is touching first and take pick up impression. Please provide the lab with a new bite and opposing.

    BROKEN

    • Full denture

      Stage: DeliveryIf clean break: Send back denture only. If not clean break: Send a new impression to restart

    • Immediate

      Stage: DeliveryIf clean break: Send back denture only. If not clean break: Send a new impression to restart

    • Valplast/tcs/combo

      New impression to start over.

    • Partial

      New impression to start over.

    • Stayplate

      Stage: DeliverySee full denture

    FRAMEWORK DOES NOT FIT

    • Full denture

    • Immediate

    • Valplast/tcs/combo

      Stage: FrameworkNeed new impression to make new metal framework

    • Partial

      Stage: FrameworkNeed new impression to remake framework

    • Stayplate

  • IDOC Brochure